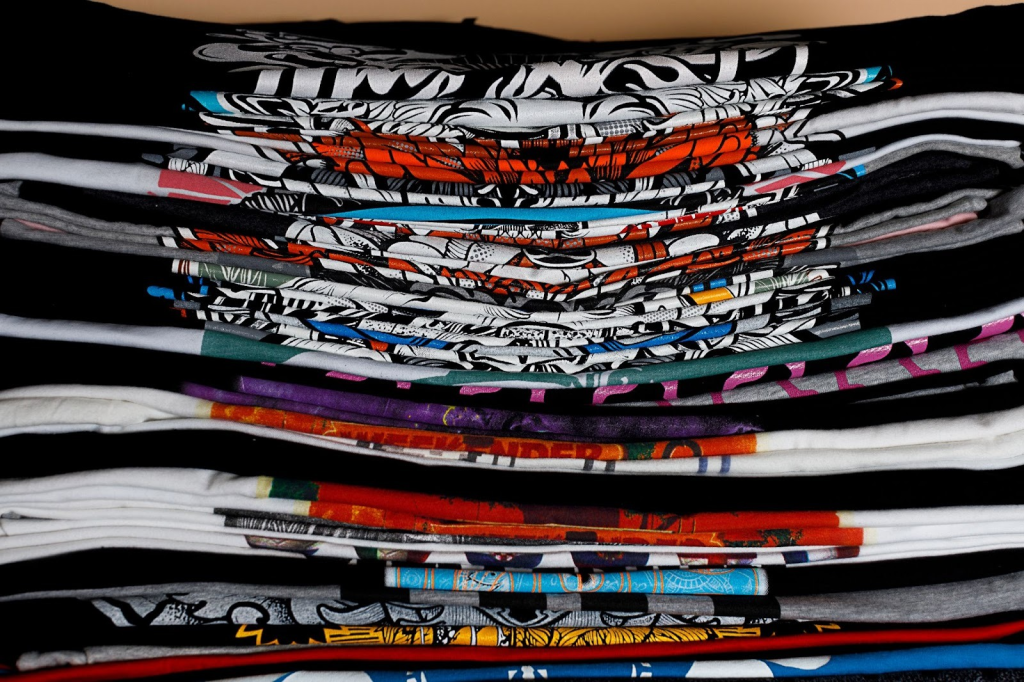
There’s something incredibly satisfying about creating your own custom t-shirts from scratch. Whether you’re looking to start a small business, make merch for your band, or just want to bring your designs to life, learning how to screen print t-shirts is a skill that opens up endless creative possibilities.
This screen printing tutorial will walk you through everything you need to know about DIY screen printing at home. By the end of this guide, you’ll have the confidence to create your first custom printed shirt.
In this guide, you’ll learn
- What screen printing is and why it’s the best method for custom shirts
- Exactly what equipment you need with honest prices
- How to prepare your design and screen step by step
- The actual printing process that creates professional results
- How to cure your prints so they last for years
- Common mistakes and how to fix them
What Is Screen Printing? The Basics Explained
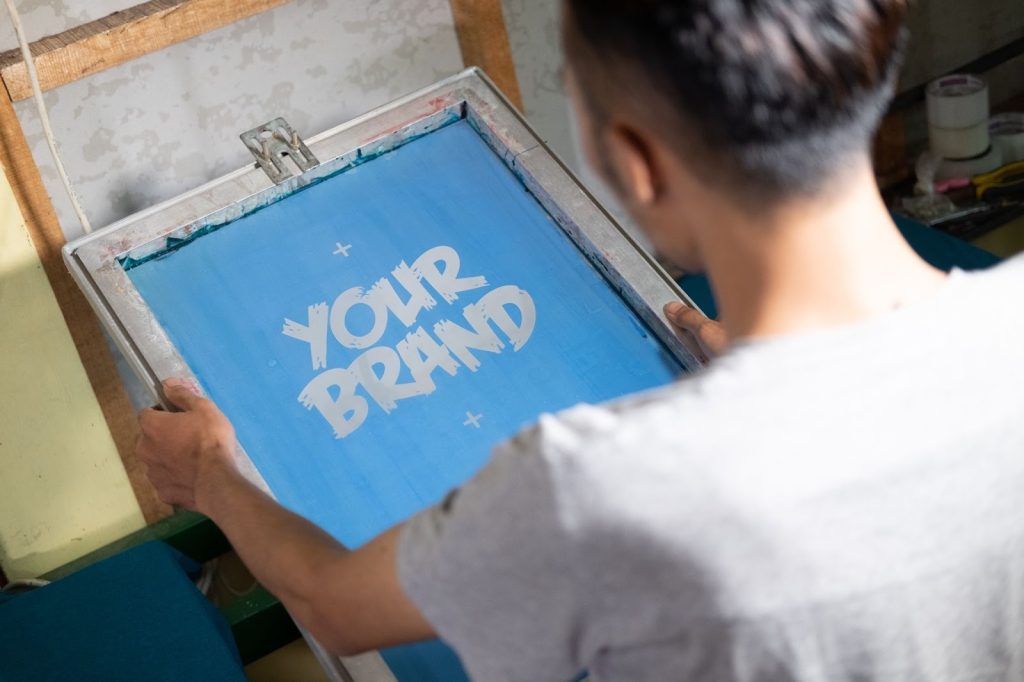
Screen printing is a printing technique where ink is pushed through a mesh screen onto fabric using a squeegee. The screen has your design burned into it. Certain areas are blocked off while others allow ink to pass through, creating your image on the shirt.
Why Screen Printing Is So Popular
- Prints last for hundreds of washes without fading
- Colors stay bold and vibrant over time
- Cost effective when printing multiple shirts
- Works on t shirts hoodies tote bags and more
Screen Printing vs Other Printing Methods
Heat transfer
- Easy and quick
- Cracks and peels after a few washes
DTG direct to garment
- Excellent quality
- Requires expensive machines costing over fifteen thousand dollars
Screen printing
- Durable long lasting prints
- Affordable startup cost
- Best overall balance for beginners
Essential Screen Printing Equipment and Supplies
Here’s exactly what you need to start screen printing at home, with honest pricing so you can budget properly.
Core Equipment You’ll Need
- Screen and frame costing twenty to forty dollars
- Aluminum frames last longer than wood
- One hundred ten mesh is best for bold beginner designs
- Photo emulsion costing twenty to thirty dollars
- Light sensitive coating that creates your stencil
- Beginner friendly emulsions work with multiple light sources
- Squeegee costing fifteen to twenty five dollars
- Seventy durometer is ideal for beginners
- Firm enough to push ink but easy to control
- Screen printing ink costing twenty to thirty dollars per color
- Plastisol ink is easiest because it does not dry in the screen
- Transparency film costing fifteen to thirty dollars
- Used to print your design for exposure
- Light source costing thirty to one hundred dollars
- UV exposure lamp or DIY LED setup
- Heat source for curing costing thirty to two hundred dollars
- Heat gun flash dryer or convection oven
Budget Breakdown
- DIY setup using budget friendly options
- Total cost between two hundred and three hundred dollars
- Beginner professional kit with higher quality tools
- Total cost between four hundred and five hundred dollars
Creating Your Screen Printing Design
Not every design works well for screen printing. Simple designs with bold lines give the best results when you are starting out.
Beginner Design Tips
- Use bold lines instead of thin intricate details
- Stick to high contrast designs such as black on white
- Avoid tiny text until you have more experience
- Start with one color designs
Design Software Options
Free software options
- Canva
- GIMP
- Inkscape
Paid software options
- Adobe Illustrator
- Adobe Photoshop
Creating Your Film Positive
- Design must be solid black with no grayscale
- Print only on transparency film
- Black areas must be completely opaque
- Each color requires a separate film
How to Prepare Your Screen Step by Step
This is where the magic happens. You will coat your screen with emulsion expose it to light and wash out your design.
Step 1 Choose Your Mesh Count
One hundred ten mesh
- Best for beginners
- Works well with bold designs and thicker ink
One hundred sixty to two hundred mesh
- Used for fine detail
- Best once you have more experience
Step 2 Coating With Emulsion
- Work in a dimly lit room
- Apply a thin even coat on both sides of the screen
- Use one smooth pass with a scoop coater
- Let the screen dry in a dark dust free space for two to four hours
Step 3 Exposing the Screen
- Place the film positive ink side down on the screen
- Use glass or foam to apply pressure
- Expose using UV light for four to six minutes
- Adjust exposure time based on results
Step 4 Washing Out the Design
- Start with gentle water pressure
- Gradually increase pressure
- Design areas should wash out cleanly
- Allow the screen to dry completely before printing
Common Screen Exposure Problems
- Design washes out too easily
- Screen is under exposed
- Increase exposure time by thirty to sixty seconds
- Screen is under exposed
- Design will not wash out
- Screen is over exposed
- Decrease exposure time
- Screen is over exposed
- Blurry edges
- Poor contact between film and screen
- Apply more pressure during exposure
- Poor contact between film and screen
The Screen Printing Process Making Your First Print
Workspace Setup Checklist
- Flat sturdy surface
- Good overhead lighting
- Well ventilated area
- Cardboard or platen inside shirt to prevent bleed through
Printing Steps
- Position the shirt on a flat surface
- Place the screen in the correct position
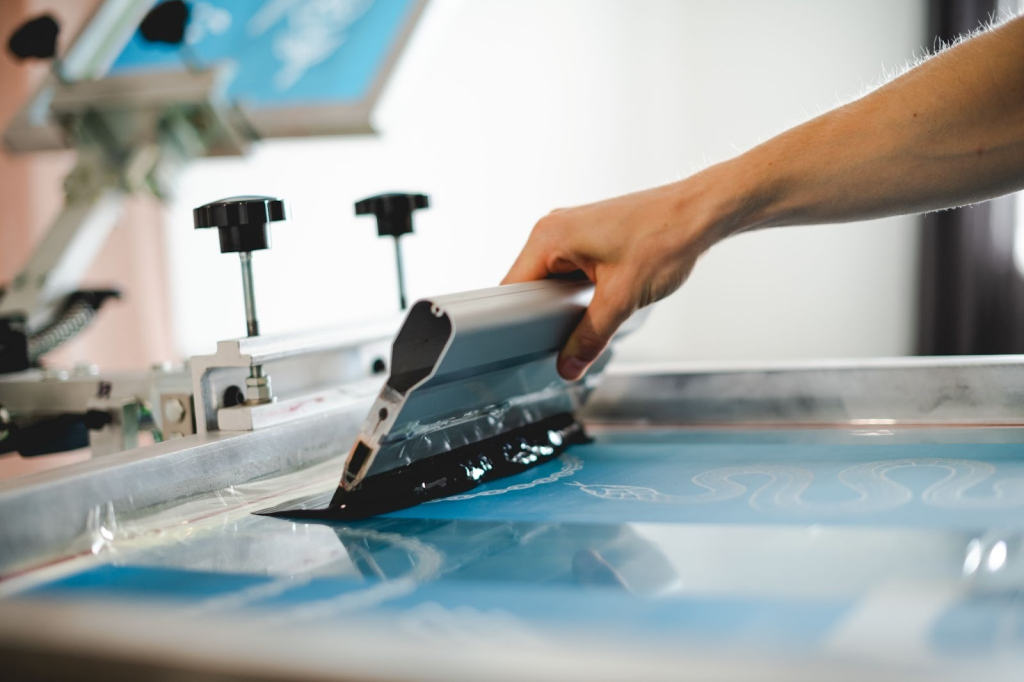
- Apply a line of ink at the top of the screen
- Hold the squeegee at a forty five degree angle
- Pull the squeegee in one smooth firm motion
- Lift the screen carefully to reveal the print
Squeegee Technique Tips
- Too little pressure causes blurry prints
- Too much pressure causes ink bleeding
- Keep pressure consistent across the entire pull
- Always test print on scrap fabric
Curing Your Prints for Long Lasting Results
Proper curing is crucial. Without it prints will crack fade or wash out. Curing heats the ink so it bonds permanently with the fabric.
Curing Methods Compared
Heat gun
- Most affordable option
- Requires two to three minutes per print
Flash dryer
- Most consistent results
- Cures prints in twenty to thirty seconds
Convection oven
- Affordable alternative
- Use only for crafts not food
- Set to three hundred twenty degrees Fahrenheit
Plastisol Ink Curing Checklist
- Target temperature of three hundred twenty degrees Fahrenheit
- Use an infrared thermometer
- Ensure entire ink layer reaches temperature
- Let print cool completely before testing
Stretch Test
- Allow print to cool
- Stretch fabric firmly
- If print cracks apply more heat
- If print stretches cleanly it is properly cured
Common Screen Printing Problems and Solutions
- Ink bleeding
- Caused by too much ink or pressure
- Use less ink and lighter pressure
- Caused by too much ink or pressure
- Gaps or missing areas
- Screen not contacting shirt evenly
- Ensure flat surface and proper placement
- Screen not contacting shirt evenly
- Blurry or fuzzy prints
- Screen movement or excess ink
- Hold screen steady and use one confident pull
- Screen movement or excess ink
- Print fading or washing out
- Ink not cured properly
- Ensure ink reaches three hundred twenty degrees Fahrenheit
- Ink not cured properly
Cleanup and Equipment Maintenance
Immediate Cleanup Steps
- Scrape excess ink back into container
- Wipe screen before ink dries
- Clean squeegee edge
- Rinse tools that contacted ink
Reclaiming Screens
- Apply emulsion remover to both sides
- Let sit according to product instructions
- Use pressure washer or strong spray
- Allow screen to dry before recoating
Long Term Equipment Care
- Store screens upright
- Never allow ink to dry on tools
- Store emulsion in a cool dark place
- Dispose of chemicals properly
Pro Tips for Screen Printing Success
Getting Started
- Use simple one color designs
- Practice on cheap shirts
- Keep notes on exposure times
- Expect mistakes and learn from them
Safety Tips
- Work in ventilated spaces
- Wear gloves with chemicals
- Use eye protection during washout
- Keep heat sources away from flammable materials
Skill Progression
- Master one color printing first
- Experiment with mesh counts
- Print on hoodies and tote bags
- Explore turning skills into a side business
What Screen Printing Is Really Like When You’re Starting Out
Most screen printing guides make it sound either insanely easy or overly technical. The reality is somewhere in between. The first time you try to screen print a t shirt, something will probably go wrong. The ink might look uneven. The design might not wash out perfectly. You might think it is cured, only to stretch it later and see small cracks.
That does not mean you are doing it wrong. It means you are learning.
Screen printing is a hands on skill. Reading helps, but the real learning happens when you actually pull the squeegee and see how the ink reacts. Things like pressure, speed, and ink amount become muscle memory over time. The goal with your first few prints is not perfection. It is understanding how the process feels.
A lot of beginners quit too early because their first print does not look professional. Even experienced printers still test print every job. Mistakes are normal and expected.
How Long Screen Printing Actually Takes
Screen printing is not fast when you are starting out. Preparing a screen alone can take several hours between coating, drying, exposing, and washing out. Printing itself is quick, but everything before it takes patience.
Once you understand your setup, things move much faster. Exposure times become predictable. Curing becomes second nature. What once took an afternoon can eventually take an hour.
If you are printing for an event or deadline, always give yourself extra time. Rushing is the easiest way to ruin a good print.
Picking the Right Shirts Makes a Big Difference
Not all blank shirts print the same. Cheaper shirts can be thin or overly absorbent, which can make prints look dull or uneven. Mid weight cotton shirts are usually the easiest for beginners.
Always test on the same shirt you plan to use for your final prints. Ink behaves differently on different fabrics. A print that looks perfect on one shirt may look completely different on another.
If possible, washing and drying shirts before printing can also help prevent shrinking later and keep prints looking better long term.
Staying Organized Saves Time and Frustration
Screen printing gets messy quickly. Ink, water, screens, and tools can pile up fast. A little organization goes a long way.
Keep ink containers sealed when not in use. Clean tools as soon as you finish printing. Write down exposure times and curing settings. Even quick notes can save you from repeating mistakes later.
The more organized your workflow is, the more enjoyable screen printing becomes.
When It Finally Clicks
There is a moment where everything comes together. The screen exposes correctly. The print looks clean. You cure it and it passes the stretch test. That moment is what keeps people coming back.
From there, screen printing becomes fun instead of stressful. You start experimenting more and gaining confidence with every print.
Start Your Screen Printing Journey Today
Learning how to screen print t shirts is a rewarding skill that combines creativity with something hands on. Your first prints may not be perfect but each one teaches you something new.
With a two hundred to five hundred dollar investment and this screen printing tutorial as your guide you can start making custom t shirts at home today.
- Create bold designs
- Prepare screens carefully
- Practice your squeegee technique
- Never skip curing
Start with one shirt. Make mistakes. Learn what works. Before you know it you will be creating custom apparel that lasts for years.