Walk into any screen printing forum and you’ll see the same question: “What do I need to get started?”
The answers are all over the place. Some people say you need a $2,000 exposure unit. Others claim you can print with stuff from around the house.
Here’s the truth: most beginners waste hundreds of dollars on gear they won’t use for months.
This guide gives you a realistic supply list for home printers on small budgets. You’ll learn what’s essential, what can wait, and how to build a starter setup that actually works without draining your bank account.
The Absolute Essentials
Your first screen:
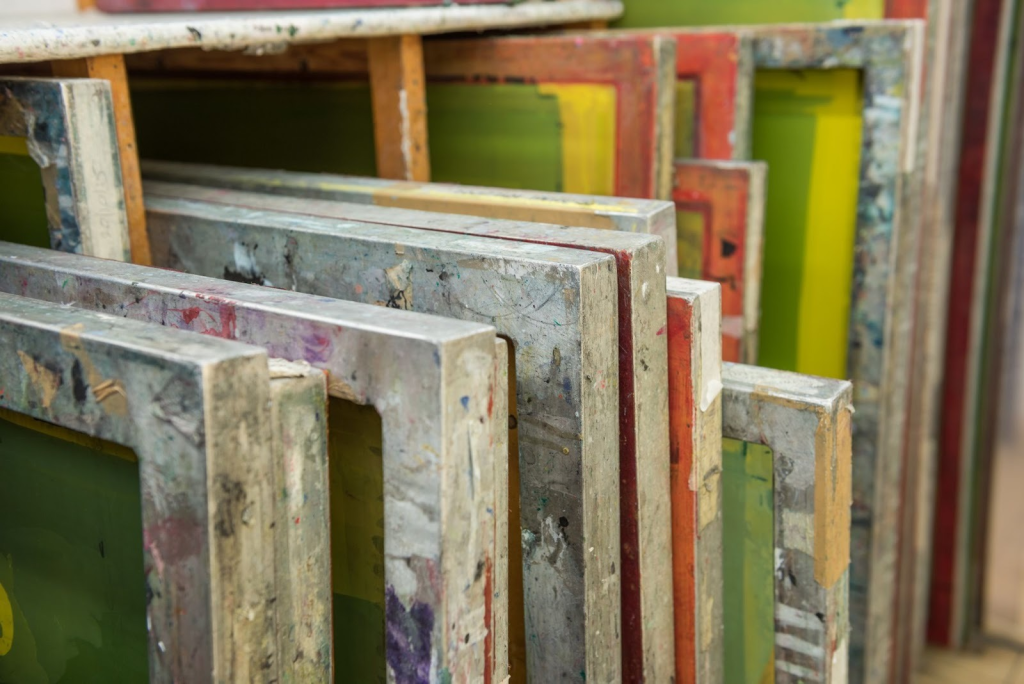
- Start with a pre-stretched aluminum frame
- Get 110 mesh for bold designs and text
- Or get 156 mesh for slightly finer details
- Wood frames are cheaper but they warp when wet
- Cost: $15-30 per screen
The squeegee you actually need:
- 70 durometer (that’s the hardness rating)
- This softer squeegee is forgiving while you learn
- It pushes more ink through the mesh
- Size: 9-12 inches works for most beginner projects
- Cost: $10-25
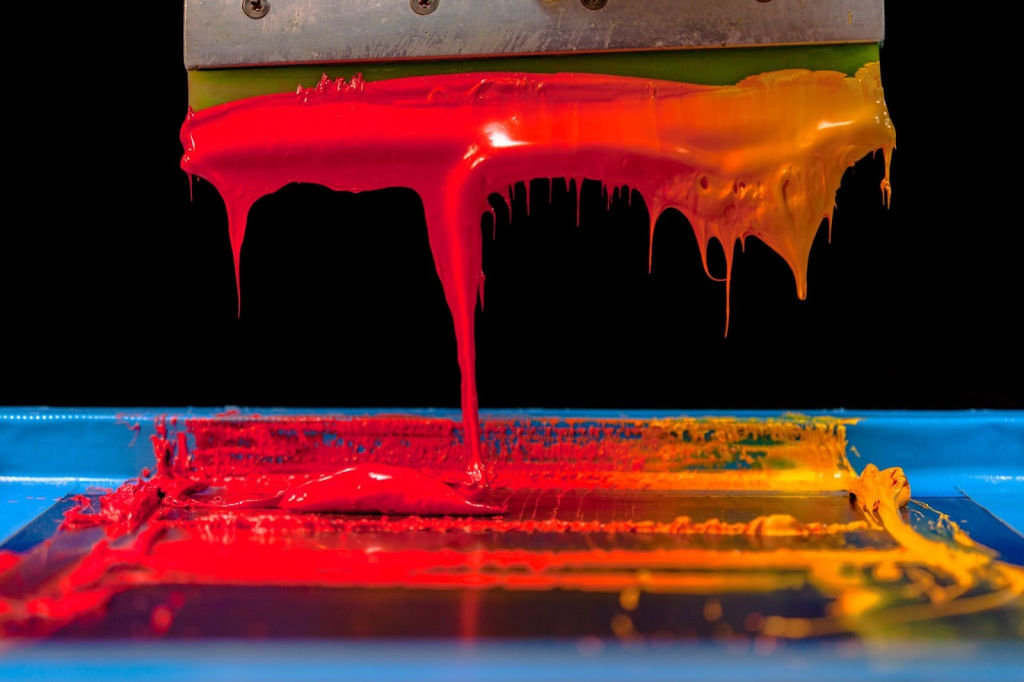
Let’s talk about ink:
Plastisol is your friend when you’re starting out. Here’s why:
- It sits on the shelf for months without drying
- No mixing required
- Cures at predictable temperatures
- Doesn’t dry in your screen if you take a break
Water-based inks sound great, but they dry in the screen if you pause too long. They also need more technique to cure properly.
Start with plastisol. You can explore water-based later when you’re not also trying to figure out registration and squeegee pressure.
Cost: $18-25 per quart
What creates your design (emulsion):
- Diazo-sensitized emulsion: $20-40
- Lasts for dozens of screens
- Emulsion remover to reclaim screens: $10-15
- This lets you clean and reuse screens for new designs
Your light source:
Forget expensive exposure units at first. Here’s what actually works:
- 500-watt halogen work light: $25-40
- Place it 18-24 inches from your screen
- Exposure takes 15-30 minutes (depends on your emulsion)
- Yes, it’s slower than a $400 unit
- But it produces identical results once you dial in your timing
Nice-to-Have but Not Required
Things you can skip for now:
Exposure units ($300-600)
- They’re wonderful, but that halogen light works fine
- Makes no sense when you’re printing 10 shirts a month
Flash dryers ($200-500)
- Great for multi-color printing
- But unnecessary for one-color designs
- Your prints can air dry between colors when you’re doing small batches
Washout booths (hundreds of dollars)
- Professional setup for cleaning screens
- A $5 spray nozzle on your garden hose works great
- Or use your shower
Here’s the pattern: Professional equipment saves time and adds convenience. But it doesn’t improve print quality for beginners still learning the basics.
Master the fundamentals with basic gear first. Then upgrade based on what actually frustrates you.
Budget Breakdown
$200 bare-bones setup:
- 2 screens: $40
- 1 squeegee: $15
- Quart of plastisol ink: $20
- Emulsion kit: $30
- Halogen light: $35
- Basic chemistry: $25
- Scoop coater and misc supplies: $35
This assumes you’re using a heat gun for curing and printing on shirts you already own.
$350-500 solid beginner setup (the sweet spot):
- 4 screens in two mesh counts: $80
- 2 squeegees: $30
- 3 ink colors: $60
- Better emulsion: $50
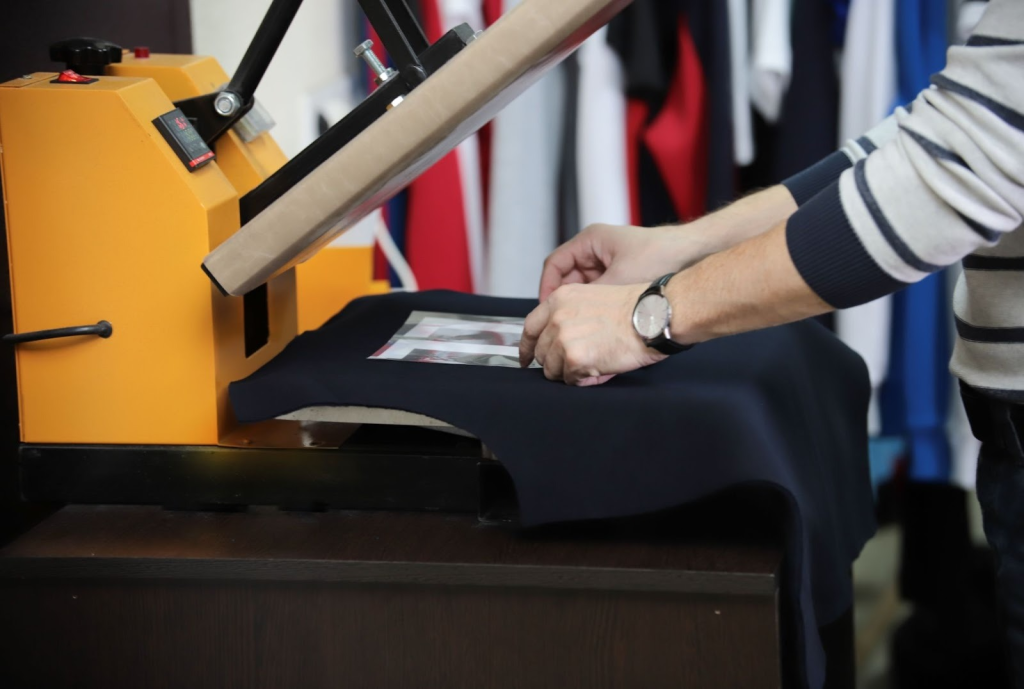
- Heat press or used flash dryer: $100-150
- Washout supplies: $30
- Actual shirt blanks: $50-70 for a dozen
This gives you enough supplies to do real projects without constantly re-ordering.
Where to save money:
- Frames (buy pre-stretched, not custom)
- Washout setup (garden hose works)
- Exposure unit (halogen light is fine)
- Practice shirts (hit the thrift store)
Where to spend more:
- Emulsion (cheap stuff falls apart)
- Squeegees (good rubber saves frustration)
- Ink (quality brands cure more reliably)
The biggest rookie mistake? Buying a “complete kit” on Amazon for $150 that includes terrible screens, mystery ink, and a squeegee that bends like rubber.
Where to Buy Reliable Supplies
Specialty suppliers (Ryonet, ScreenPrinting.com):
- Quality gear with actual support
- Prices run higher than Amazon
- But their emulsions are properly stored
- Mesh counts are accurate
- Customer service can troubleshoot your issues
- Pro tip: Sign up for emails—sales drop prices 20-30%
Amazon:
- Fine for basic tools (squeegees, spray bottles, mixing sticks)
- Be careful with chemistry and screens
- Mystery-brand emulsion might be old stock
- Read reviews carefully
- Check if the seller actually knows screen printing
Your local print shop (hidden gem):
- Many sell surplus supplies
- Expired (but still good) emulsion at discounts
- Used equipment
- Even better: they’ll answer quick questions
- 10 minutes with someone who prints daily beats hours of YouTube confusion
Start Simple, Upgrade Smart
Professional screen printers started exactly where you are. Basic equipment. Plenty of failed prints.
The difference between a $200 setup and a $2,000 one isn’t print quality on simple designs. It’s speed and convenience for production work.
Your first prints will teach you more than any equipment upgrade ever could.
Here’s the smart approach:
- Start with the essentials
- Learn proper technique
- Upgrade based on what actually limits your work
Most beginners discover they need better curing before they need better exposure. Or more screens before they need a flash dryer.
Let your real experience guide your investments. Not the “must-have” lists designed to sell equipment.
Great prints come from good technique, not expensive gear.